A great use for my Handmade Glass Lolipop Vase - a little sprig of your favorite plant!

Put in water or sand, give love, water and sunshine... watch it grow!


 The mini glass globe fun continues! I went to the pet store and stocked up on some knowledge, and some aquatic life to put in my tiny glass globes. Snails and plants that can live together, a nice relationship really: the plant causes algae to grow and the snail eats the algae and keeps the glass clean. The snail also eats this particular plant, so it won't starve, rest assured! So hopefully I've created a micro-ecosystem.
  I have been making mobiles of glass jars. The jars are things I have made, blowing the forms using a torch. Each one is just a little bit different. They are simple round shapes with round openings, no flat bottoms. They do not sit on a table - they float! I wrap a bit of steel wire around the lip of the jar and attach a swivel. When you touch one (which how can you help but touch that enticing glass globe and wonder what you can put inside!) it dances in response to your fingers!
 You can put anything inside the jars in this mobile - that is why I called this piece "Sheer Potential" - the content is all yours. You could put little words written on paper, love notes and inspiration. Or small feathers or flowers you picked up on a walk. The glass washes out easily, its made of Pyrex glass, so it is not a problem to wash it out (although it is attached to a mobile). Here are some more ideas: plants, snails, moss, feathers, small toys, fake flowers, shells, plastic animals, sparkly things, jewelry, small candles (you could pour wax in there and put little wicks and make them candles!), LED lights, used computer chips, sewing notions, bobbins, buttons... oh my. I'm getting carried away. I had a lot of fun taking pictures of different objects in the jars, today I am going to the pet store in search of a snail to put in a jar :)
 I love these shapes and how they hang in the air waiting for interaction. This is a very impressionable mobile! Not only does it move if you blow at the pieces or touch them, it holds whatever you think of putting in the three little jars. Reflection and interaction - a lovely little bit of art to share with the world. Thanks for checking it out :)
 I love this picture. Love. Something about the round bump of moss in the round hanging jar. While doing a photo shoot this afternoon I took this shot... I have been making more vessels, for terrariums and such things... simple forms, some don't even have a flat bottom, so they can only hang.
  This last picture is just a bit more eye candy from taking photos today. I love these jars. Sitting or hanging, they are just the sweetest little things. So simple, so happy, so much potential.
 My mother had a basket of buttons with her sewing supplies. I used to love looking at them all, savoring all the little details and differences between them. Did your Mother or Grandmother have a button collection? I have one of my own now, and my collection is made even more amazing by all the handmade glass buttons I have made. A couple summers ago I created a dress that used one of these buttons as a simple clasp on the back of the neckline. It made the dress even more impressive. I've also made some purses that used glass buttons... and a little sock monkey with handmade button eyes... I'm always looking for fun ways to use these buttons.
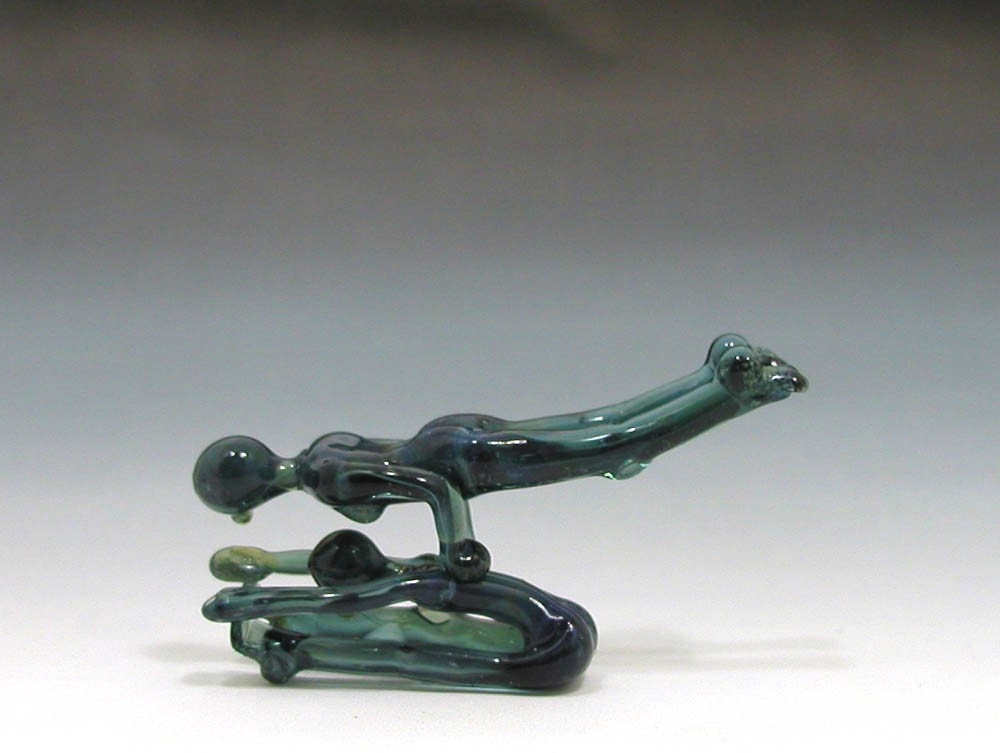
 Some of the ladies are walking around, some are sitting... there is one that is trying to pull another out of the hole in the middle.
 They are very simple, these little ladies, but I enjoy the detail in the animation that is achievable. I like to make them doing things, seems to add a human character, a humor value.


 I made this little ghost a few years ago... dug him up to take a picture because my friend Deb was at the glass studio the other day and asked if I'd ever used glow in the dark powder in my glass creations. Indeed - here is an example. I mixed some of the bright green glow powder in with Borosilicate Kryptonite colored glass (cuz this color already looks like it should glow - I think it makes a great combo) and made these little ghosts. The more powder the better, and you have to mix it into the glass, as it will not stick to the surface really - but if you get enough in there it really glows quite powerfully!
 A few days ago I taught a class in miniature glass blowing - I couldn't help but play around a little near the end of class and my mind starting wandering to mini terrariums... this afternoon I put some plants in two of them! First some small glass beads in the bottom, some dirt, a little water and then a few strands of my favorite little succulent plant...
 Monday I taught a torchworking class at the Aquila Glass School - we made frogs out of borosilicate glass. Such fun in the studio - as always! If you'd like to come join me for a class like this sometime, and curious about what you will make - check it out!
  We made little frogs that I call "Coqui" because they are small and cute like little Puerto Rican Coqui frogs... Pictured below is a little handful of frogs I brought home to photograph so I could share in my blog what we made:
 Glass Coqui frogs and frogs on rocks (less fragile - no little feet that can break off) and frogs on pendants (wearable frog sculptures) - last night we also made some lizards on pendants (pictured in the first shot in this blog post)
 I've been making lots of rings the past couple days... among other things... seems like the summer show season is ON and I've been running around shipping and shopping and creating things... my oh my. I had to share a picture or two of these rings. Unloading the kiln this morning looked so fun with 70 rings spilling out. I'll be restocking my Etsy shop and my booth at the Portland Saturday Market with rings, so if anyone is interested - come see if one fits! $20 each - made of borosilicate glass (very very strong and stress resistant glass) with dicroic sparkles... I love them.


 My friend Poe made this last one (I made the two purple ones).
  Tonight I am teaching a class introducing the art of torchworking with borosilicate glass. Its a very fun medium - everything in the picture above was made with boroslicate.
 Have you ever had a candle that had presents inside?!

 Clearly I could/should have decorated this glass ball... the point is, its easy to simply blow out a borosilicate point and create a simple Christmas tree ornament. The little metal caps (with the wire) are available from glass supply distributors... if you are an artist that uses the Aquila studio, they have the metal caps available for sale there as well. If you take my Ornament class, you make at least a dozen of these little imperfect creations, and I put the little metal tops on them for you, after they have been annealed.


 This little lady is made with a new color from Northstar called "English Ivy".