


 And now for some action shots! I was having fun with my camera while Brandyn sweated and did all the hard work :) Until my camera battery ran out...
 Brandyn seemed to need about a 2 dip gather to pick up the little things in this 1 1/2" stumpsucker. It was actually quite easy (although to be fair he did all the work!)
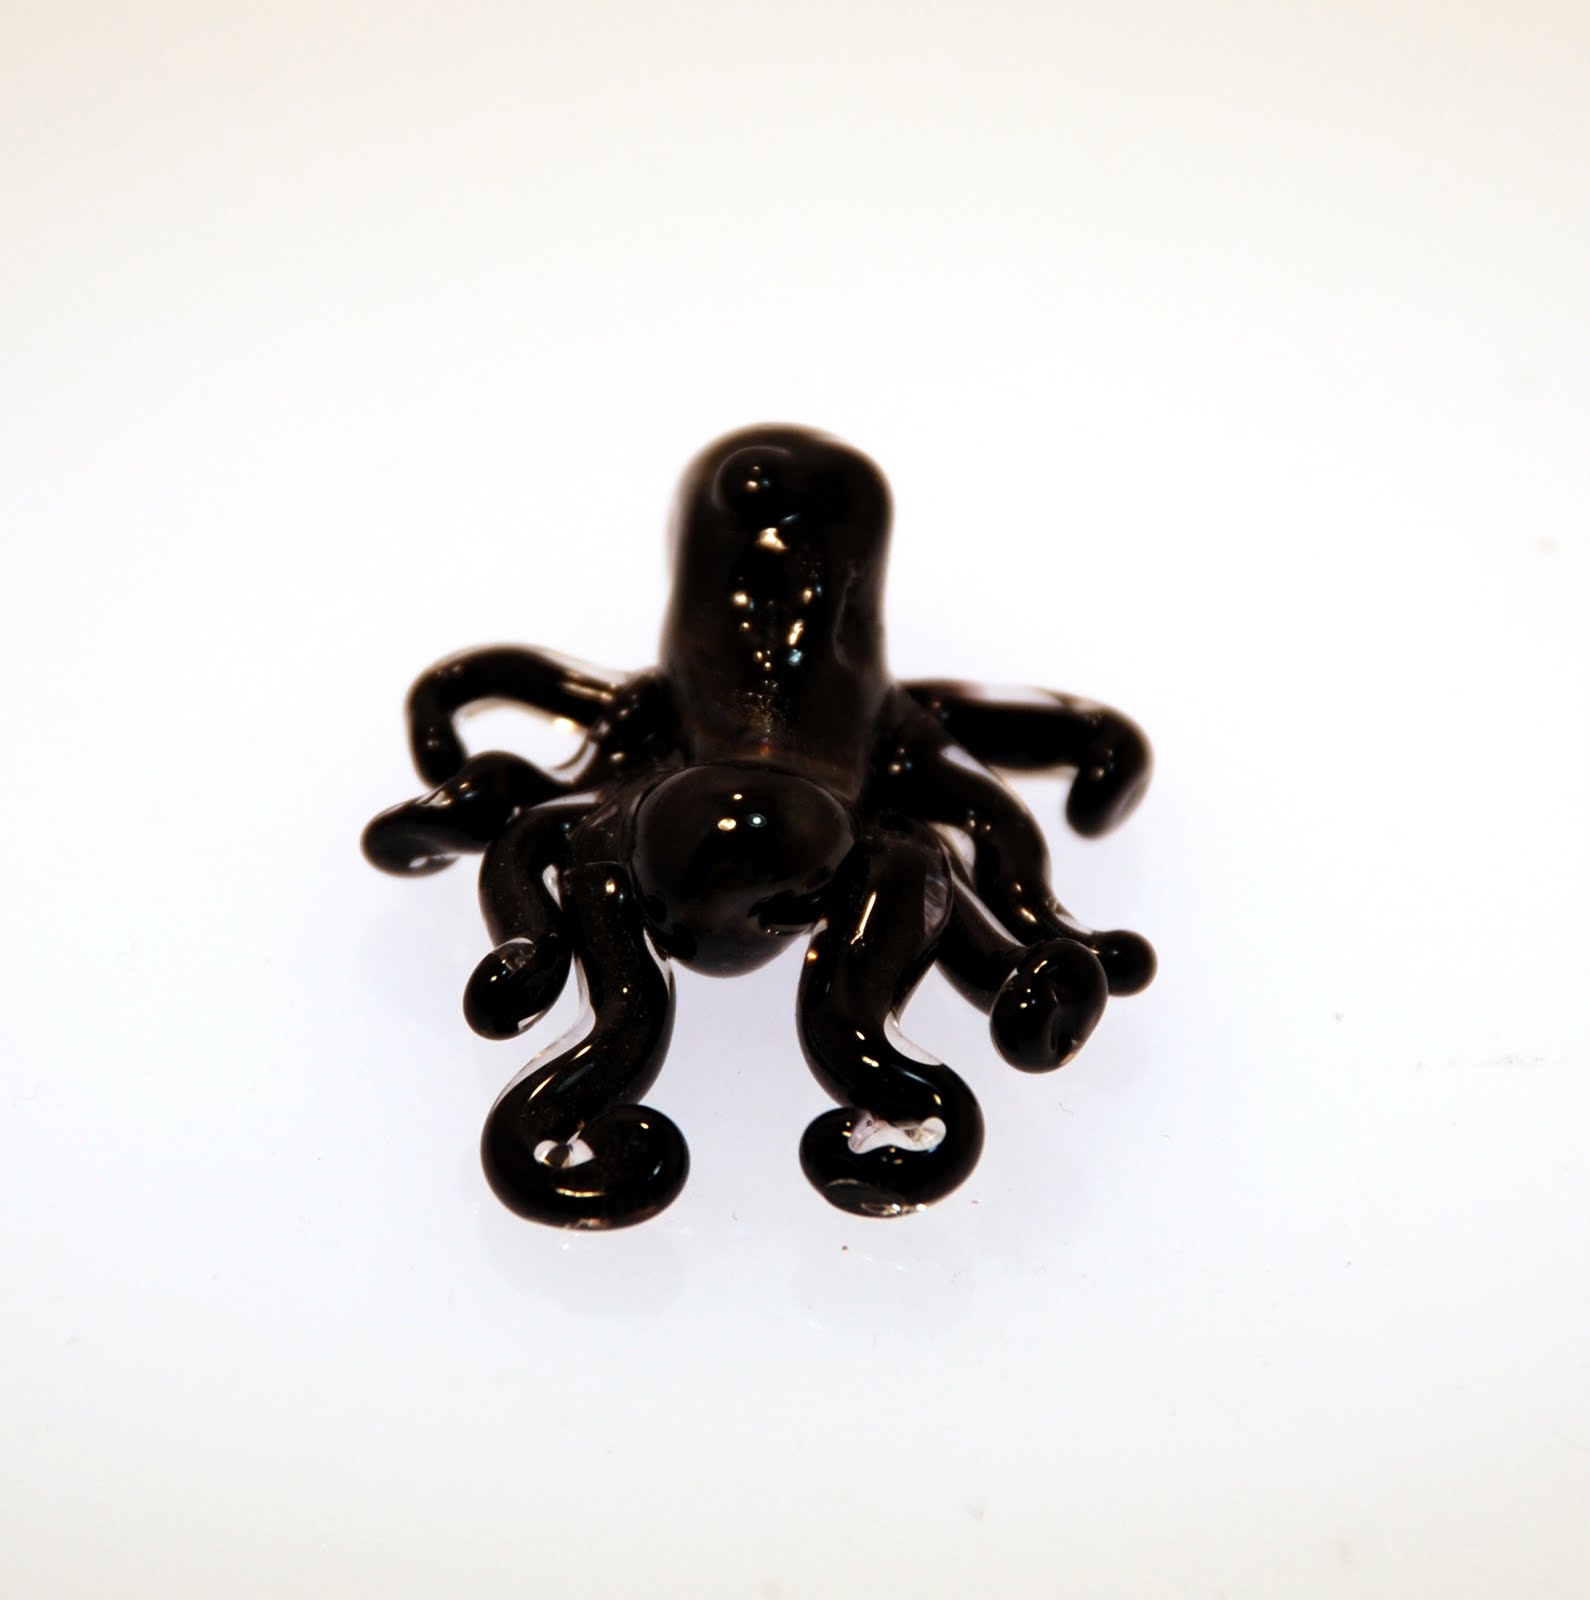
 can you see the octopus inside this glass in the picture below? This is after another dip was taken over the encasement...
 After some shaping with a neat steel marble mold we turned them into paperweights and put them in the annealer. It was pretty cool... I look forward to doing it again. More pictures to come of the finished paperweights... I am going out of town (visiting Tim's family in PA) and I won't get to play more with this until I get back (including taking pictures of the finished paperweights).
  Its been a fun week of lots of glass activities... I emptied my camera and found a few gems to share... these first two pictures are of some new help that has come my way. A friend from the studio suggested I hire her friend's son to sort my scrap. He is young and very interested in glass, so he was quite excited to get the opportunity to get involved at the studio and do whatever I may need for help. I had them sort scrap, its my least favorite thing to do, but I gotta do it, I have over 100 lbs of scrap that needs to be used and turned into art! So that is what he did. And he brought a friend with him (they took the train to the studio) and the friend is in a local arts magnet school (hes into photography and likes the idea of taking pictures of glass art) and the two of them dug thru my scrap.
  Next in my pictures is Miss Amy at the studio making a marble. Check it out - she set up her laptop next to her with the webcam on and streamed herself making a marble! She used U-Stream and said there were at least 5 people watching her. I thought this was fantastic! What a great idea. I'll have to use this concept at some point...
 Last picture is just silliness :) I brought my label making machine with me to the studio and started labeling things like crazy. Most notably I put all my little wires and whatnot that are cut to specific lengths in little drawers and labeled the drawers. Its wonderful. Before I kept the wire in little baggies, I like this new system much better. Reminds me of playing with Legos when I was a kid. My engineer father kept our Legos (actually we were always told they were his legos, not ours) in drawer sets like these and each drawer was labels "2x2" or "1x3" and so on. When we played it was mandatory that we cleaned up after ourselves by taking the Legos apart and sorting them into the appropriate drawers. (I thought this was how all kids played with Legos!) There was ever a drawer for the little Lego people labeled "body parts".
 Today I am stumpsucking some glass! Okay, yes, that does sound funny. I agree :)
  Here is another sad sorry attempt at encasement with the stumpsucker. This orange lady looks terrible now and she is covered in bubbles. If the object I am encasing is too cold, bubbles will get trapped. Too hot and she morphs and distorts as the clear glass encases her.
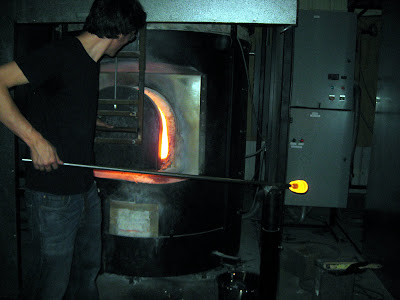
  This is what the tool looks like. The black piece of graphite with the hose coming off it is the stumpsucker itself. I attached it to a tripod and put some silver Kevlar stuff around the rubber hose... its a strange and annoying tool. Too small and too awkward to really get the job done. We'll see how it goes today! I'll be sure to take pictures and share afterwards as well.
 Previously I have tried to work with borosilicate when playing with my stumpsucker. Today I am trying softglass. Specifically 96coe. Here is a collage picture of my little handful of things that I made up to encase. The beetle turned out stunning (if I say so myself!) and a few things lost some legs... but you know. Its stumpsucking DIY time. The name of the tool is funny and the process is humbling... but I love making little intricate things, putting them into paperweights would be a dream come true.
 I was in the mood to take pictures this Saturday, so I documented a bit of what it is like to set up at the Portland Saturday Market. I love the imagery of this place, and I've taken pictures in the morning down here many times, but not really of the actual process of setting up... I've done this every weekend for 8 years now... so here ya go...
 here is Mr Tim pushing my cart. Lately he has been able to join me in the morning setting up my booth before he goes to work - Thanks Tim! The yellow cart he is dragging is one of a half dozen or so carts that the market supplies to help vendors haul their stuff around the site. They are great! Sometimes its a challenge to find one to use, but its worth it. I have a few carts of my own to supplement though... you can't depend entirely on the PSM carts, there are hundreds of other vendors who also want to use them.
 see here my booth is strapped to a cart. I wheel it out and set it up while Tim is dragging the rest of my stuff out from storage. This storage space is literally under the sidewalk on the South West side of the Burnside Bridge. The walls are wet with water that seeps through the concrete sidewalk. Its old and really pretty gross. Mold, yes. Rats, sometimes. Floods, I've experienced 2 in my 8 years. There is more storage in this building in the Shanghai tunnel space that is directly underneath my storage. Its awesome. Old historic creepy spaces. This is the basement of the old building that was once a brothel in Old Town Portland. The PSM office spaces are on the bridge level floor and most of the rest of the building is storage. I think the building is haunted by one of the old prostitutes that used to work in the brothel. Story goes that she tried to blow the whistle on the people being Shanghaied (between 1850-1941 people in port cities were stolen and sold to sea captains as labor - on the west coast Portland surpassed even San Fransisco in numbers of men Shanghaied) and so the prostitute was Shanghaied! She was never seen again and I think she haunts the place now! Currently a handful of artists store their market stuff (retail display stuff and whatnot, we're not allowed to store product in this storage) in this Shanghai tunnel space. Its really fascinating to me!
 here is the big cart getting loaded up with my stuff. Tim built me these wooden pedestals, I love them. I use them as storage as well as retail display furniture.
 here is my stuff ready to be pushed from my car to the booth. This little folding cart is wonderful. Its from Costco, its very light and it folds up real small... best part is its sturdy and holds lots of weight.
 the market in the morning is an interesting site of people setting up their booths...
 this coffee booth has been at the market for decades, serving warm beverages to the masses with handmade syrups and fresh local roasted beans...
  heres my booth all ready to go
 and what it looks like from where I sit...

 these colorful plates are at Bullseye, I was there lingering while shopping for my new kiln... the colors made me break out the ol' camera while waiting
 I love taking pictures of bright colors and interesting textures... flowers... and interesting things...
 Earlier in the day I was down at the Lan Su Chinese Garden for tea with a friend
 the garden is having a 2 for 1 admission deal for the month of September - check it out!
 The lotus flowers in the lake are blooming right now... its a perfect time of year to visit the Chinese Garden
 The tea house at the Garden is so amazing. Even the pots they store the tea in are beautiful.
 Back at home I washed some pieces... found these pictures on my camera...
 this is the mobile hanging in the car I share with Tim - my orange dancer
 one picture from this past weekend: this was a tub of pieces I brought with me on Sunday to keep my hands busy... pieces to make a few mobiles...

 pictured above is the Pearl 20, I bought the Pearl 22 - it is 22" in the inside dimensions
 Check out the article I wrote for the IHeartArt:Portland blog (click the image above to read more) - it gives a little advice I've learned over the years on how to sell your work to shops and galleries. How to follow up a good lead - that is what it is all about.
  Thought I'd share some pictures from my first day of work in the new space!
  I've moved my glass upstairs (WOW what a workout. I have a lot of glass scraps. hundreds of pounds)
 And I began arranging stuff on the new shelf I set up... and then I got a bit of work done (consuming some of that color scrap!)
 The view in this picture is what it looks like from the balcony I am working on. Its a great space. I love it. I foresee hanging another mobile up there soon :)
